Productboard Step-by-Step Import
Get your API Key from Productboard
In the Productboard, navigate to Integrations and scroll all the way down to
APIs. Here, click on
Access Token and press the Add Token button on the
page. This will create the API-Key for you. Now copy the key that has just
been created.Enter the API Key in Productlane
Open your Productlane settings and navigate to 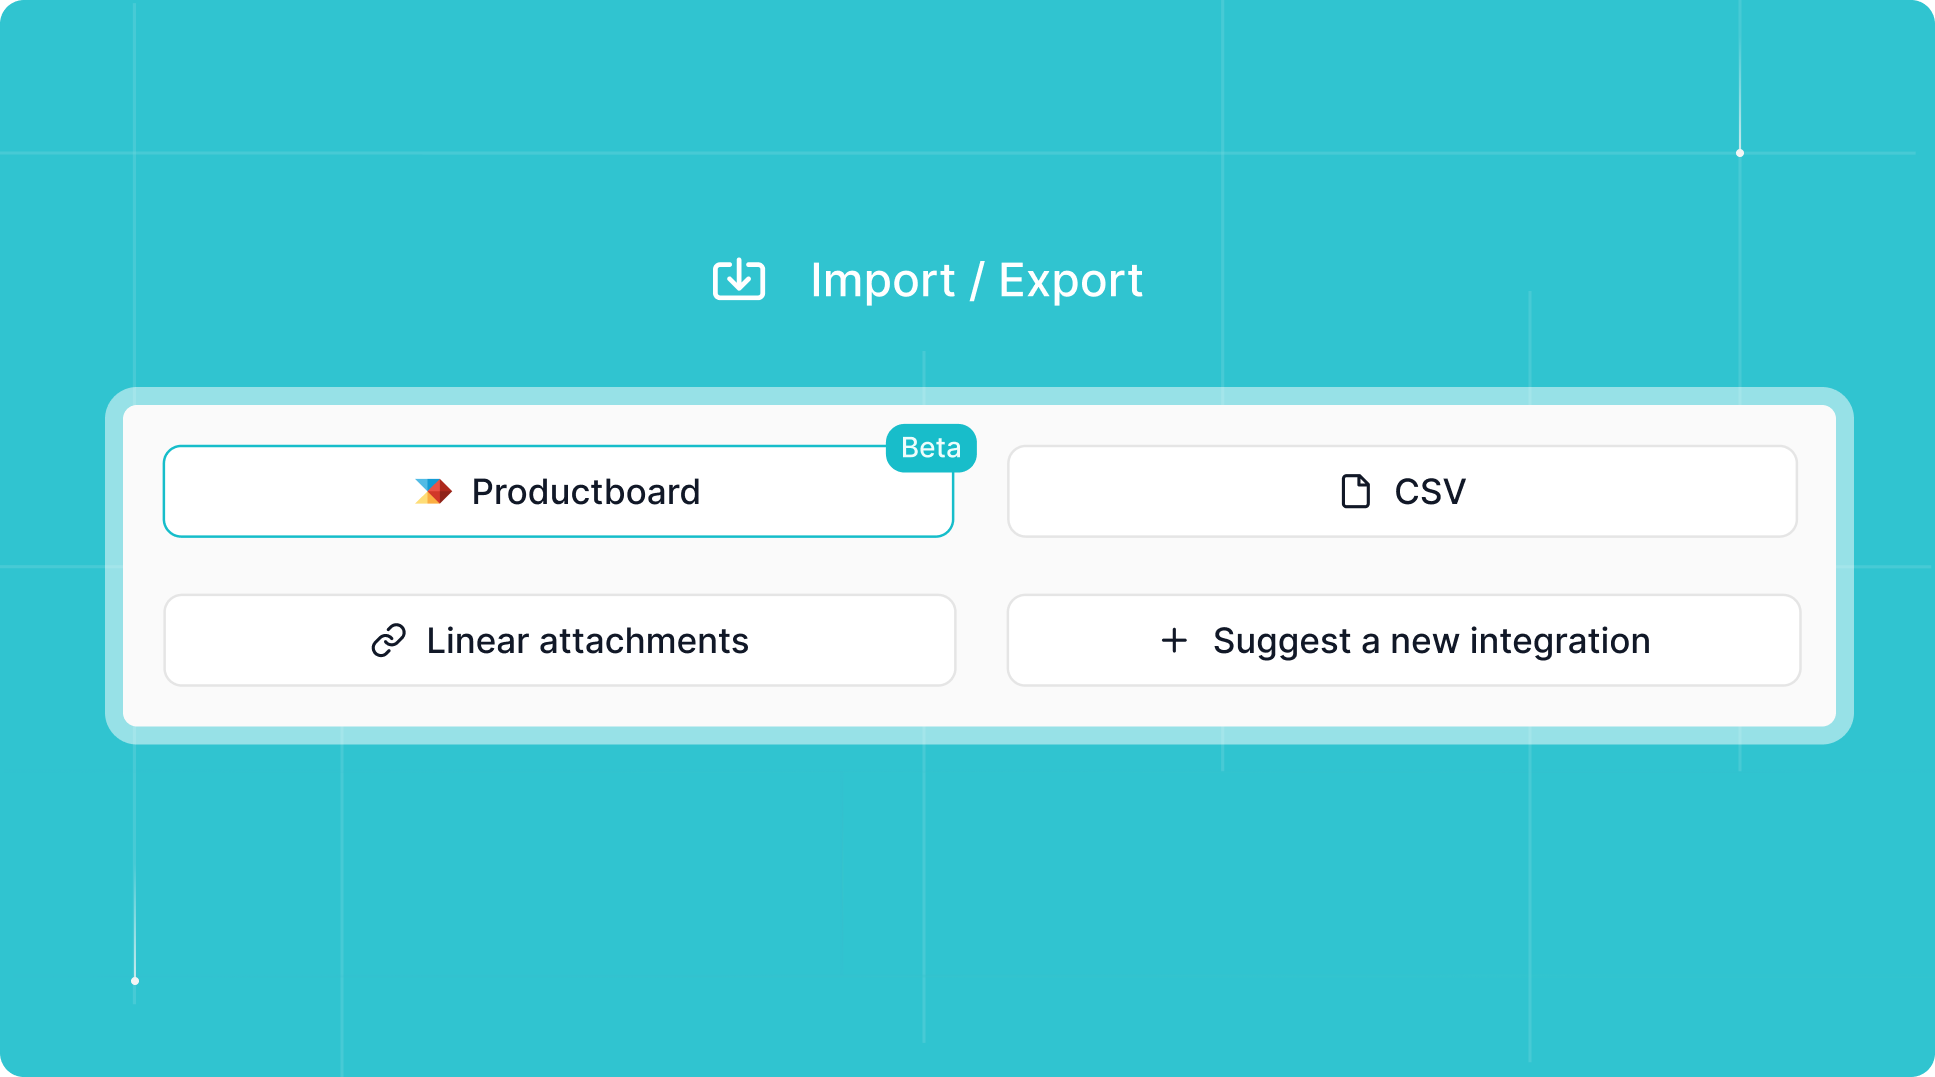
Import / Export. This will
open different options for importing and exporting data. From those, choose
Productboard. You will now be given the option to add your API key from
Productboard. Enter the key and click Validate Data.Validate data
Clicking on 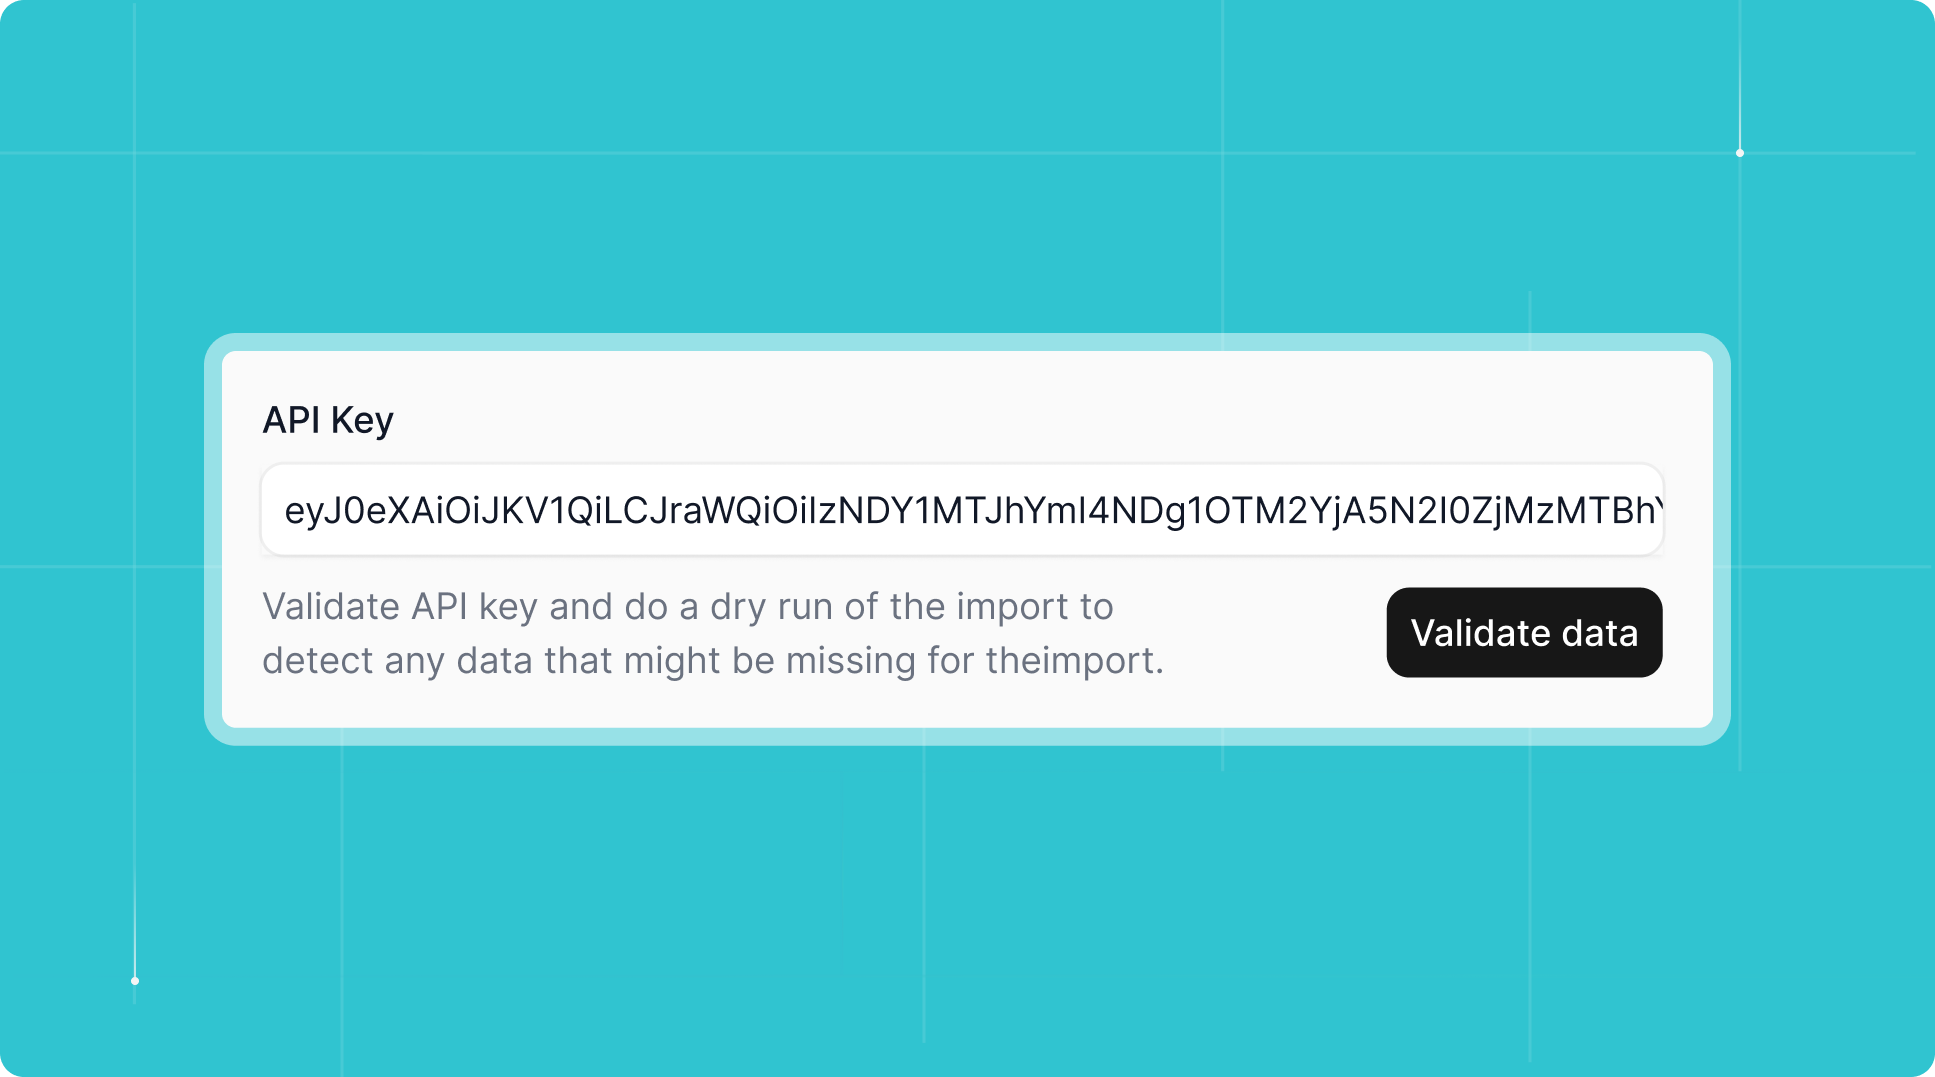
Validate Data will give you a preview of all the data we will
import. This will also give you the option to double-check any missing
information and to update that data in Productboard before you run the
import. For example: If there are users without an email or companies
without a domain, those would be skipped for the import. You can do a dry
run of the import as often as you’d like to ensure all your Productboard
data gets imported correctly and completely.Run the import
Once you feel confident with the preview of the import data, you can press
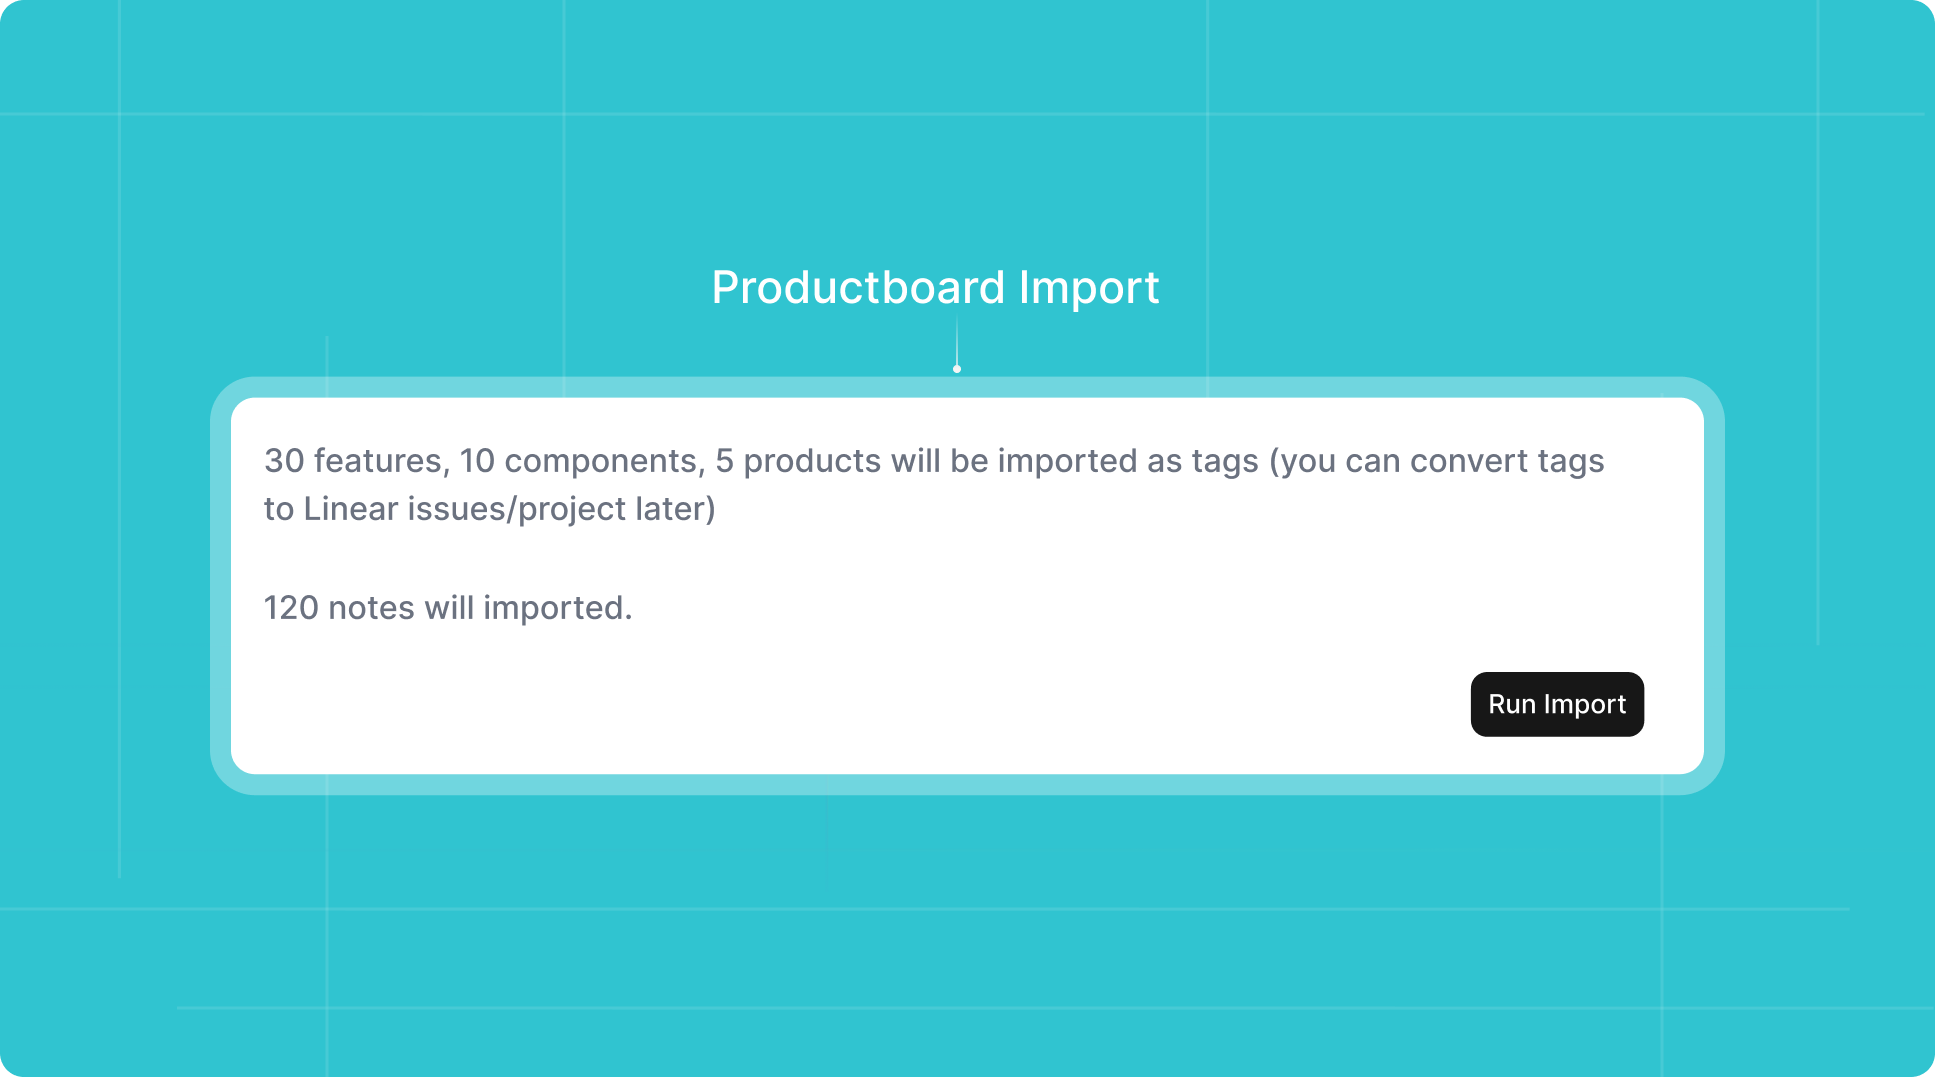
Run Import. With a successful import, we will give you the feedback that
your import is complete and everything was imported successfully.Start using Productlane with your imported data
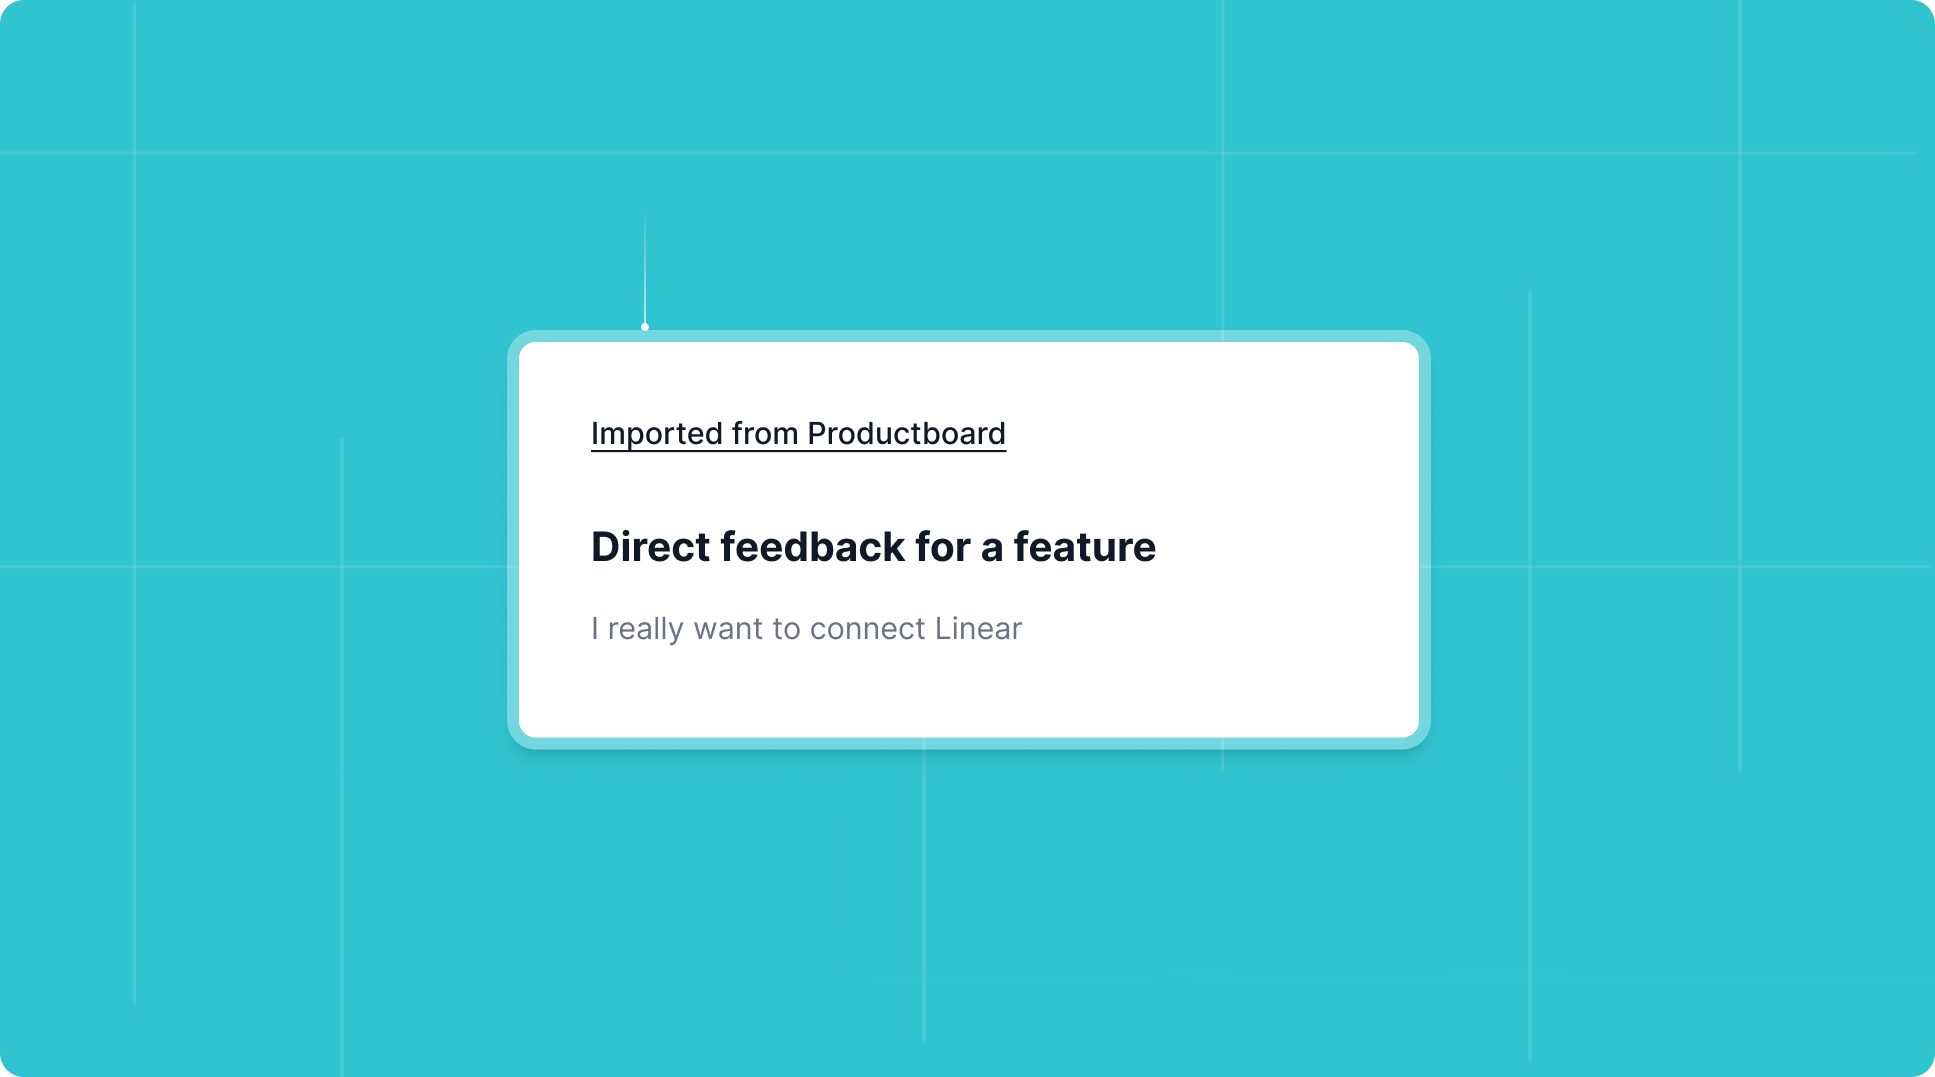
After successfully importing the data you can switch your view to Notes in
Productlane and find all your imported notes here. Every imported note will
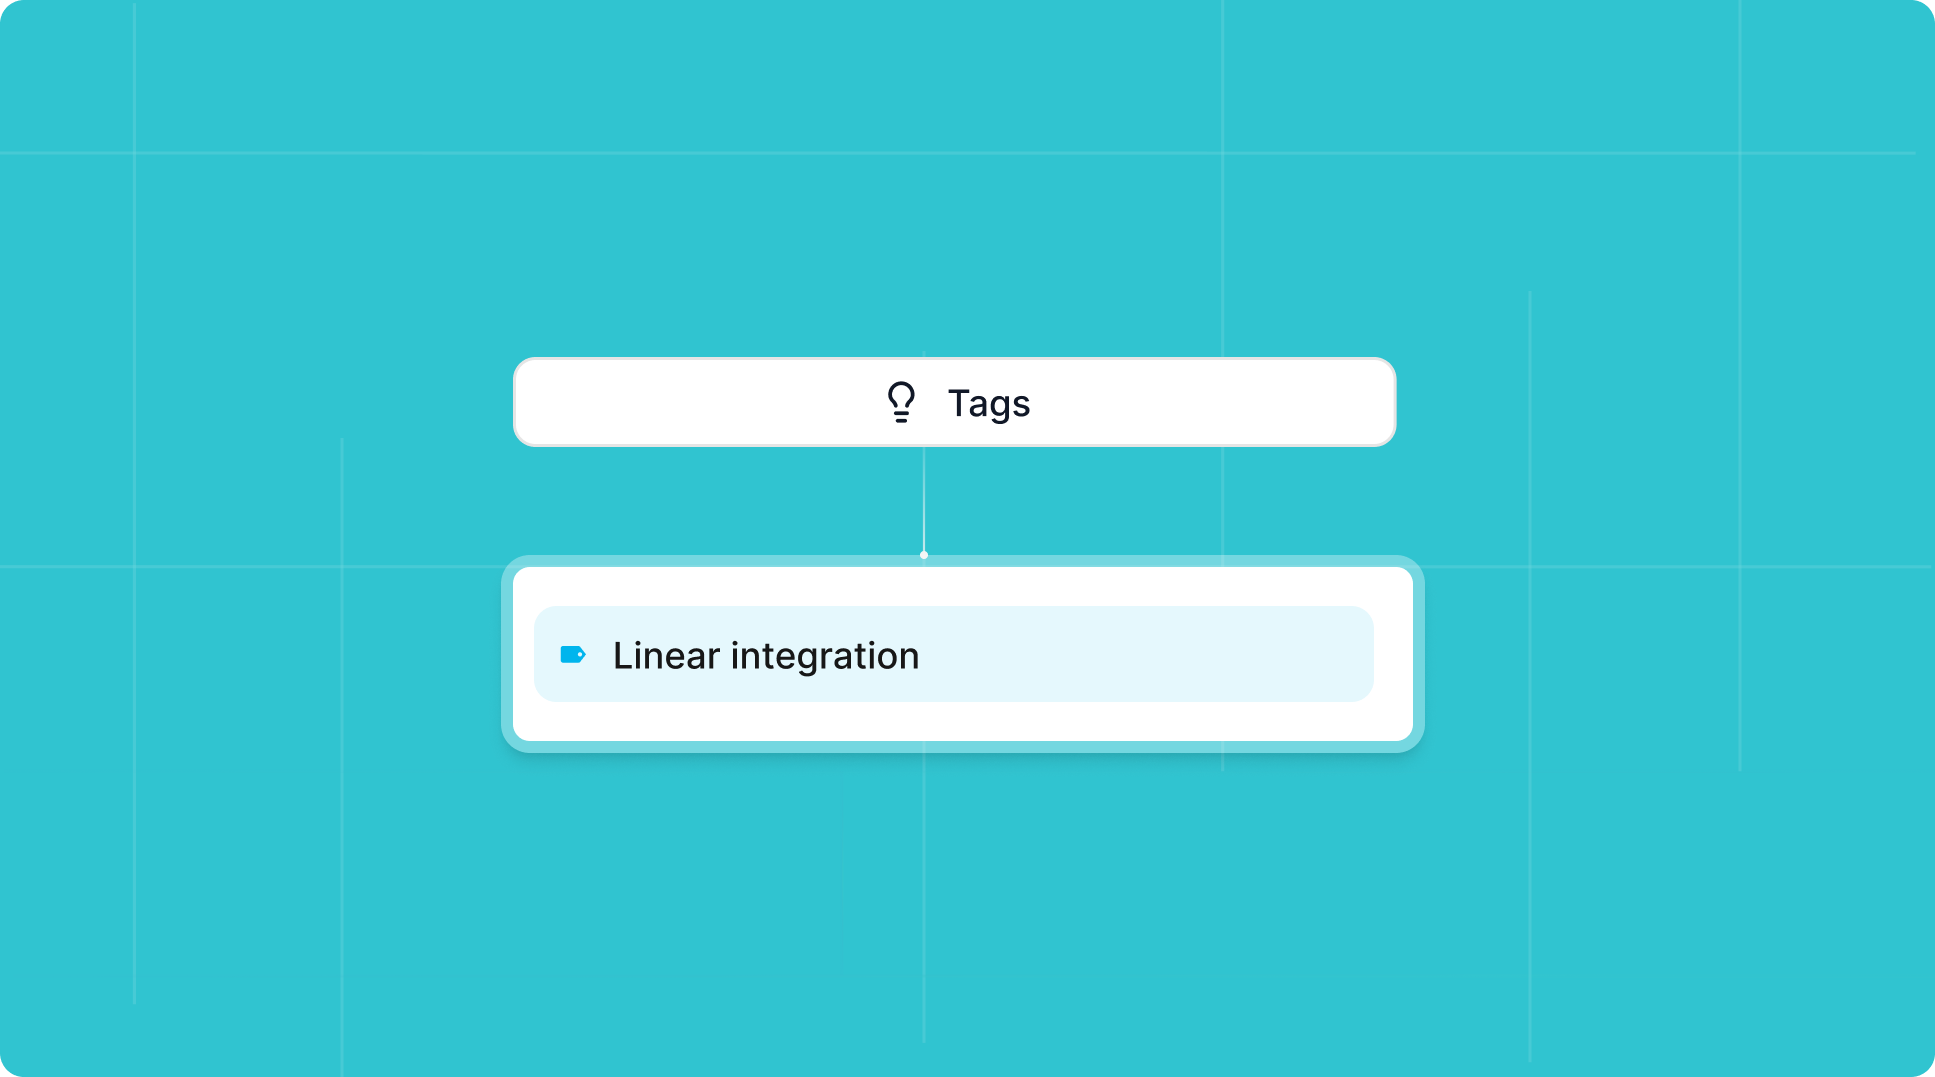
have the information “Imported from Productboard” and will show associated
features as tags.